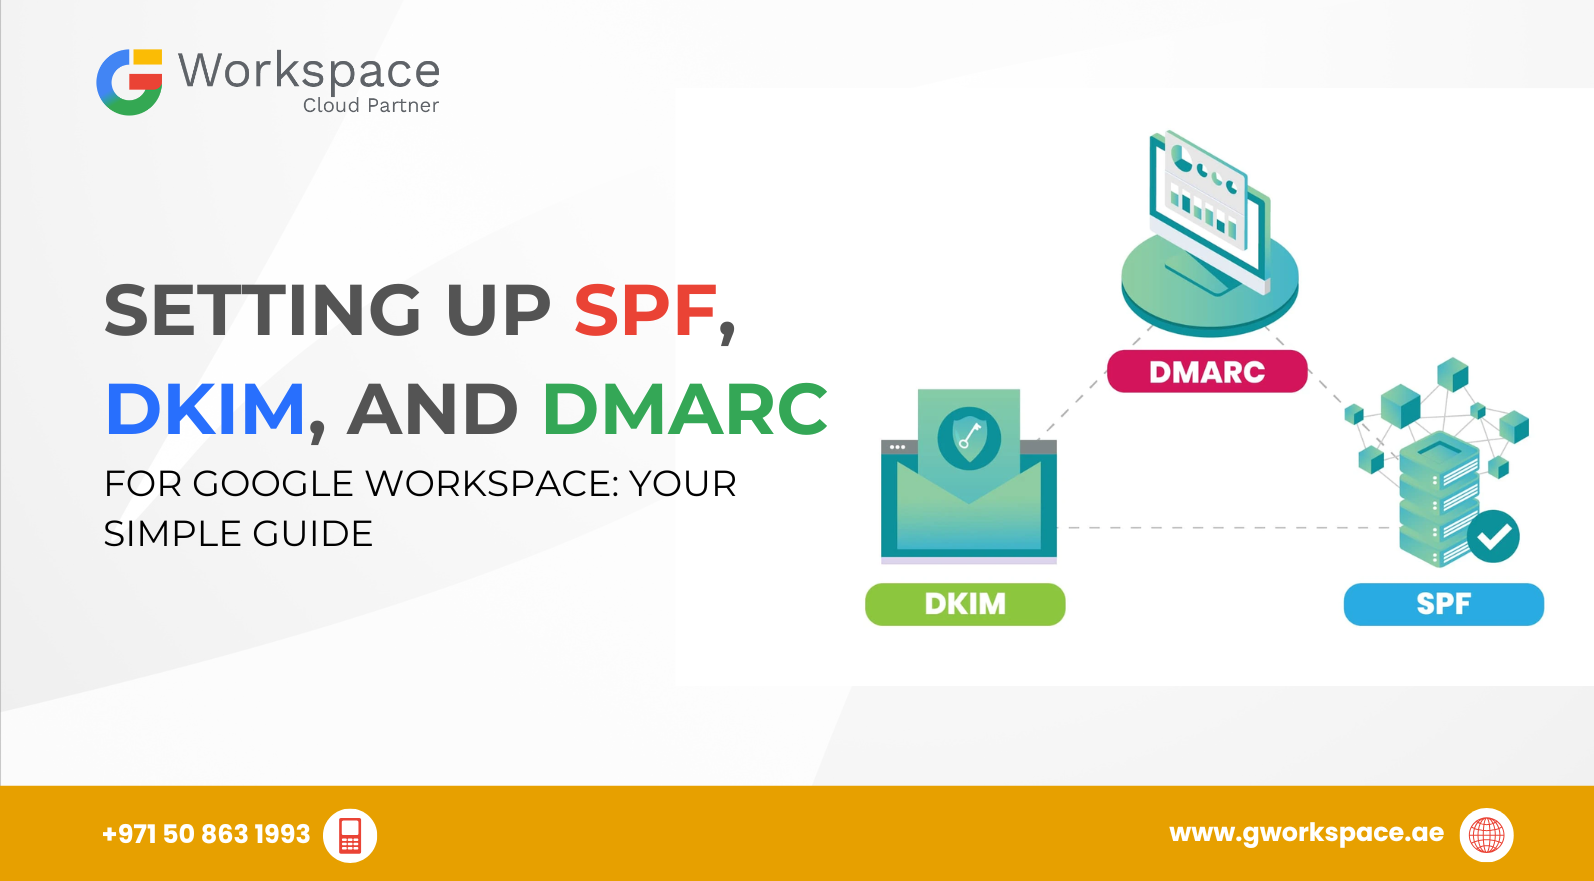
Setting Up SPF, DKIM, and DMARC for Google Workspace: Your Simple Guide
Hey there! Ready to make your Google Workspace emails super secure? You’ve come to the right place! Setting up SPF, DKIM, and DMARC might sound scary, but it’s actually pretty simple once you know what you’re doing. Think of these like bodyguards for your emails — they make sure only the real emails from your business get through.
What's All This Email Security Stuff About?
Before we jump in, let’s talk about why this matters. You know how scammers sometimes pretend to be someone else? Well, they do the same thing with emails! They might send fake emails that look like they’re from your company. That’s bad news for your business reputation.
That’s where our three heroes come in:
- SPF (Sender Policy Framework) – Like a guest list for your domain. It tells email servers which computers are allowed to send emails for your business.
- DKIM (DomainKeys Identified Mail) – A secret signature that proves your email is really from you. It’s like a stamp that can’t be copied.
- DMARC (Domain-based Message Authentication, Reporting & Conformance) – The boss that checks both SPF and DKIM. If an email fails, DMARC decides what happens to it.
Why This Matters for Your Business in the UAE
Whether you’re running a business in Dubai, Sharjah, Oman, or anywhere else in the UAE, email security is super important. Starting from February 2024, Google and Yahoo require all businesses sending more than 5,000 emails daily to have these protections in place.
Plus, having proper email security means:
- Your emails won’t end up in spam folders
- Customers will trust emails from your business
- Scammers can’t pretend to be your company
Step 1: Setting Up SPF – Your Email Guest List
Let’s start with SPF. This one’s the easiest!
What You’ll Do:
- Log into your domain provider’s website (like GoDaddy, Namecheap, or Cloudflare).
- Look for “DNS” or “DNS Records.”
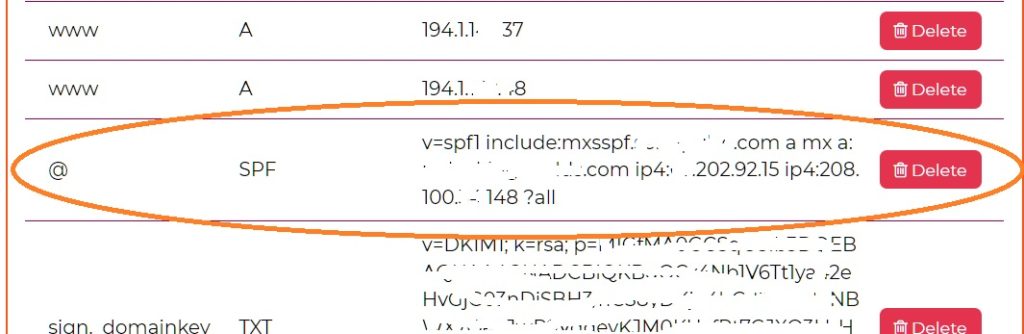
- Check if you already have a TXT record that starts with v=spf1.
- If yes, add include:_spf.google.com before the ~all part.
If no, create a new TXT record with this value:
v=spf1 include:_spf.google.com ~all
- 👉 Important: You can only have one SPF record per domain. If you use other services (like Mailchimp or Zoho), combine them into a single record. Example: v=spf1 include:_spf.google.com include:mailchimp.com ~all
That’s it! You’ve just told the world that Google Workspace is allowed to send emails for your domain.
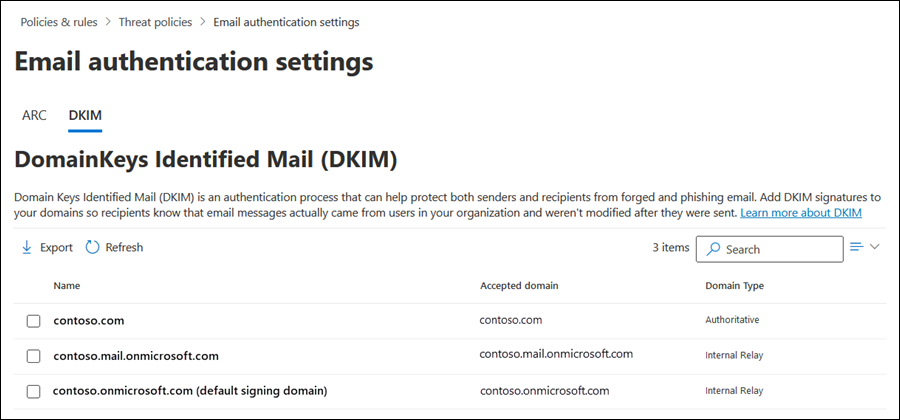
Step 2: Setting Up DKIM – Your Secret Email Signature
DKIM is a bit more involved, but Google makes it pretty easy.
Here’s what you’ll do:
- In Google Workspace Admin Console:
- Go to admin.google.com
- Click on Apps > Google Workspace Core Services > Gmail > Authenticate Email
- Go to admin.google.com
- Generate Your DKIM Key:
- Select your domain name
- Click Generate New Record
- Google will create a special DKIM record just for you
- Select your domain name
- Add It to Your DNS:
- Copy the DNS host name and record value Google shows
- Go back to your domain provider’s DNS settings
- Create a new CNAME record with the information provided
- Wait a few minutes (sometimes up to an hour for DNS to update)
- Return to Google Admin and click Start Authentication
- Copy the DNS host name and record value Google shows
👉 Pro Tip: Always generate a 2048-bit DKIM key (Google supports this). It’s stronger and more secure than 1024-bit.
Step 3: Setting Up DMARC – The Email Security Boss
DMARC brings SPF and DKIM together for maximum protection.
⚠️ Make sure SPF and DKIM have been working for at least 48 hours before setting up DMARC.
Create Your DMARC Record:
Go back to your DNS settings and add another TXT record.
Name: _dmarc
Value: v=DMARC1; p=none; rua=mailto:youremail@yourdomain.com
- Replace youremail@yourdomain.com with your own email for receiving reports.
What This Means:
- v=DMARC1 – You’re using DMARC
- p=none – Just monitor for now (no blocking yet)
- rua= – Where you’ll get reports about your emails
👉 Extra Tip: You can also add ruf=mailto:youremail@yourdomain.com for detailed (forensic) reports, but not all email providers send them.
Starting Safe: Begin with p=none. Later, switch to p=quarantine (send suspicious emails to spam) and finally p=reject (block them).
Common Questions People Ask
Usually 15 minutes to 1 hour, sometimes up to 24 hours.
Don’t panic! You can always edit DNS records.
Yes — scammers target small businesses too.
Absolutely! Google Workspace Official Partners like gworkspace.ae can set this up for you quickly and correctly.
Why Work with gworkspace.ae?
As a Google Workspace Official Partner and Reseller, gworkspace.ae helps businesses across the UAE, Dubai, Sharjah, and Oman get the most out of Google Workspace.
When you work with an official partner, you get:
- Expert setup and configuration
- Local support in your timezone
- Better pricing than buying directly from Google
- Migration help from other email systems
Testing Your Setup
- SPF: Send an email and check if it passes SPF validation.
- DKIM: Look at email headers — it should say “signed by” your domain.
- DMARC: Wait a few days and check the reports in your inbox.
Quick Troubleshooting Tips
- SPF Not Working? Make sure there’s only one SPF record.
- DKIM Failing? Wait longer for DNS updates and double-check the record.
- DMARC Reports Missing? Verify your email in the DMARC record and wait — reports are usually weekly.
Wrapping Up: You’ve Got This!
Setting up SPF, DKIM, and DMARC for Google Workspace might seem technical, but it’s really about protecting your business and customers.
Remember:
- SPF = your guest list of senders
- DKIM = your secret email signature
- DMARC = the supervisor who enforces the rules
Whether you’re running a business in Dubai, Sharjah, Oman, or anywhere in the UAE, having these protections builds trust with your customers and protects your brand reputation.
👉 Need help? Reach out to gworkspace.ae — your trusted Google Workspace Official Partner in the UAE — and let us handle the setup while you focus on growing your business.
